
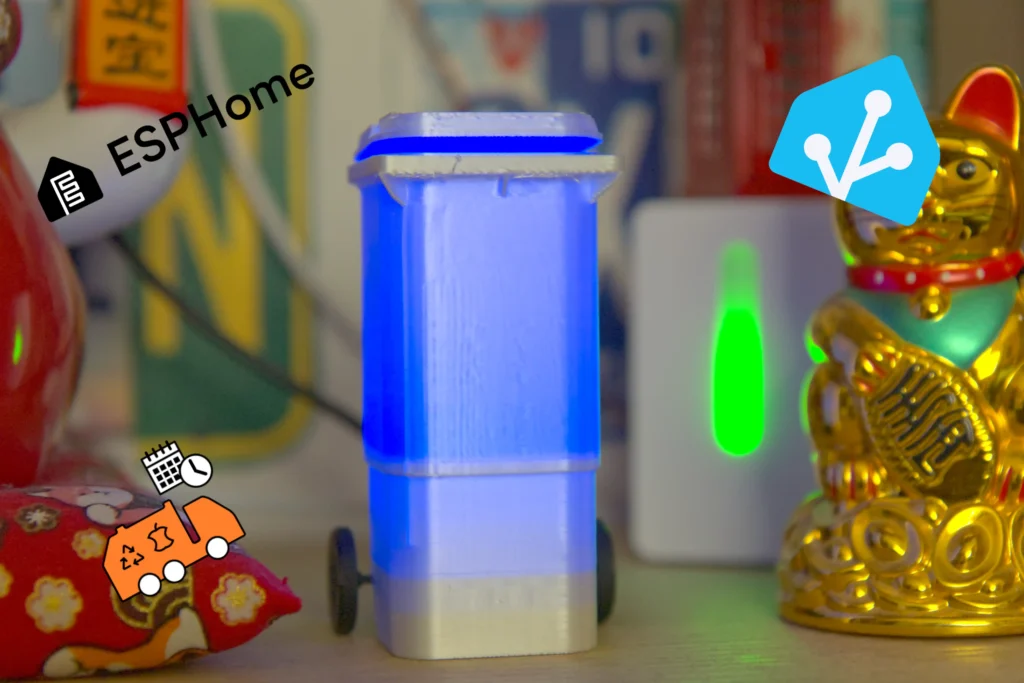
While mindlessly scrolling Reddit, I found a project on the r/homeassistant subreddit which piqued my interest. A bin indicator (or indicator for short) that lit up a miniature wheelie bin whenever it is time to take out the trash. Taking inspiration from Dean Fourie’s Bindicator I set out to make my one.
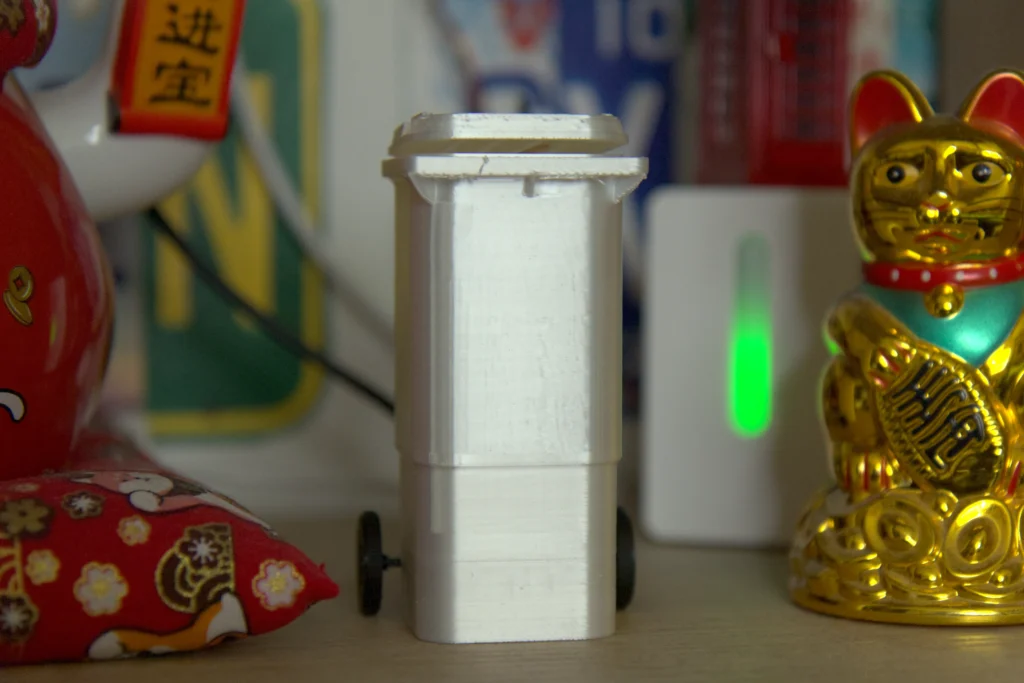
The very first step was to find a wheelie bin model I liked. After scouring platforms like Thingiverse and Makerworld, I settled on this model by “JAV-3D” as it resembled our bins the most. I’ve printed it on my Bambu Labs A1 using white silk filament.
Using the basic tools BambuStudio provides, I added a hole for the USB-C plug to fit through as a last-minute addition.
Brainnnsss…
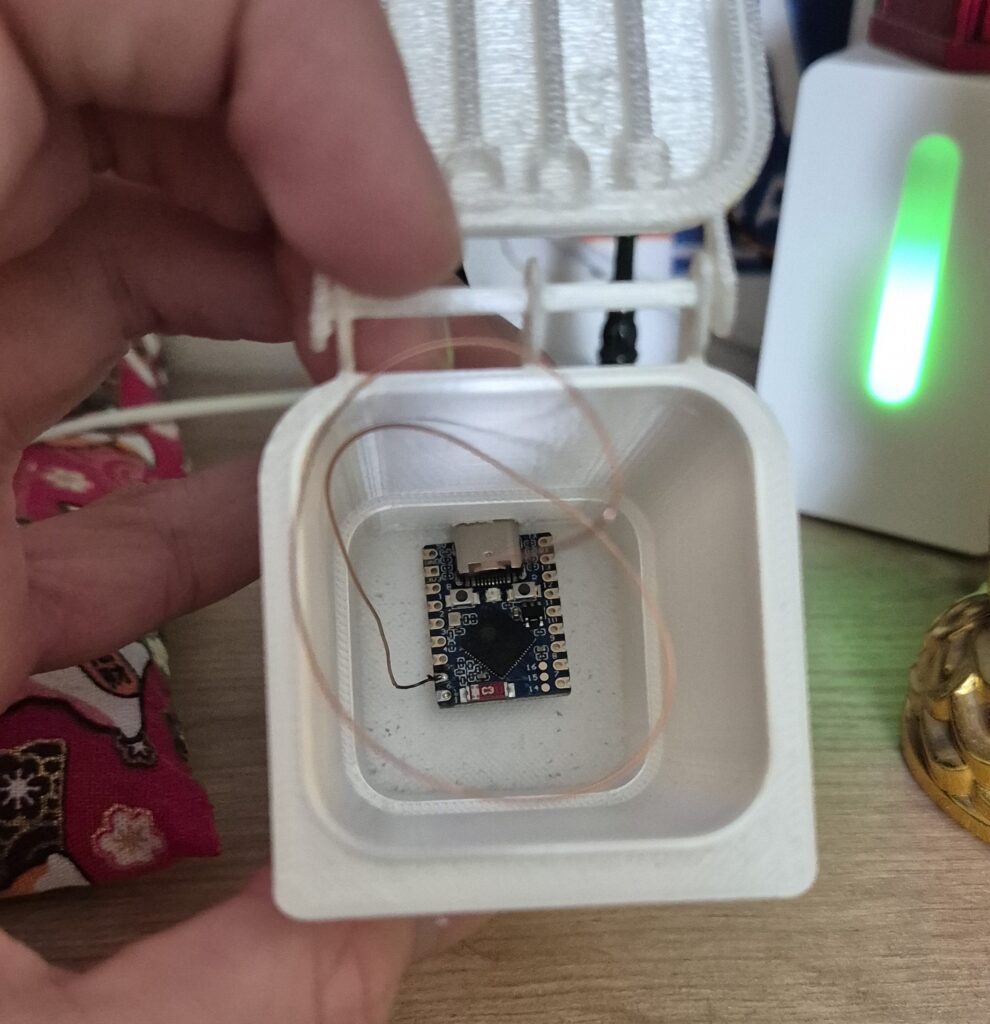
Next came the more interesting part, the heart and soul of this project: the electronics! I’ve opted to use an ESP32-S3-Zero made by Waveshare for two reasons:
- I had it lying around
- It features an integrated WS2812 pixel
This reduced the amount of extra hardware I needed. The only other thing I added was a bit of enamelled copper wire to GPIO 5. This will serve as a touch button which works through the lid of the bin. When you tap the top, the light will dim down to show that you have “acknowledged” the notification (aka you brought the trash out).
As I’m already actively using Home Assistant for my smart home, it made sense to opt for ESPHome as my firmware base. I used the online tool for flashing ESPHome. and commissioned it into my network. The configuration is fairly straightforward:
esphome:
  name: esphome-bindicator
  friendly_name: ESPHome Web - Bindicator
  min_version: 2025.5.0
  name_add_mac_suffix: false

esp32:
  board: esp32-s3-devkitc-1
  framework:
    type: esp-idf

# Enable logging
logger:

# Enable Home Assistant API
api:

# Allow Over-The-Air updates
ota:
- platform: esphome

web_server:
  port: 80

wifi:
  ssid: !secret wifi_ssid
  password: !secret wifi_password

  # Enable fallback hotspot if WiFi connection fails
  ap:

light:
  - platform: esp32_rmt_led_strip
    rgb_order: RGB
    pin: GPIO21
    num_leds: 1
    chipset: ws2812
    name: "Binlight"
    id: "binlight"
    effects:
    - pulse:
        name: "Blink Fast"
        transition_length: 250ms
        update_interval: 250ms
        min_brightness: 8%
        max_brightness: 100%

    - pulse:
        name: "Blink Slow"
        transition_length: 2s
        update_interval: 2s
        min_brightness: 40%
        max_brightness: 100%

esp32_touch:
  setup_mode: false
  measurement_duration: 0.25ms  # Much lower than the 8ms default
  sleep_duration: 0.5ms

binary_sensor:
  - platform: esp32_touch
    name: "Binlight Ack Btn"
    pin: GPIO5
    threshold: 1000
This config uses the esp32_rmt_led_strip component to drive the pixel internally connected to GPIO21, and adds two effects. It also initialises the touch component. If you use a different ESP32 board, I recommend you check the touch component documentation. I needed to change some values for it to work at all.
Home Assistant Integration
Now, only one component was missing: The collection schedule data. My local waste collection company is supported by the awesome “Waste Collection Schedule” integration for Home Assistant. I only care about two kinds of garbage: paper and packaging (“gelber sack” = “yellow trash” in German). For each, I configured a sensor with this config:
Format: Next
Value Template: {{value.daysTo}}
Type: “Papierabfall” (or whatever you want)
Last but not least, I created a new automation. My triggers were quite simple:
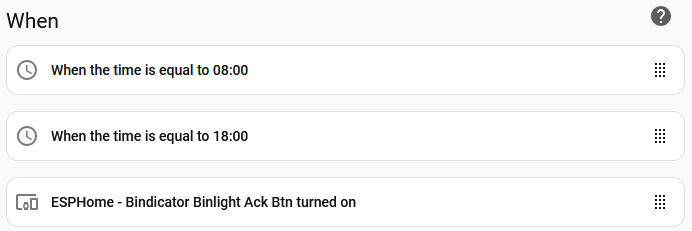
Two time triggers (“update” times) and a trigger for handling the acknowledgement.
The logic was a little more complex. When it is time to update the state, I check which trash type is next (or if both fall on the same day) and turn on the light accordingly. If both types are more than 2 days away, the light gets simply switched off.
When the touch button gets triggered, I dim the indicator to 30% (only if it was on in the first place)

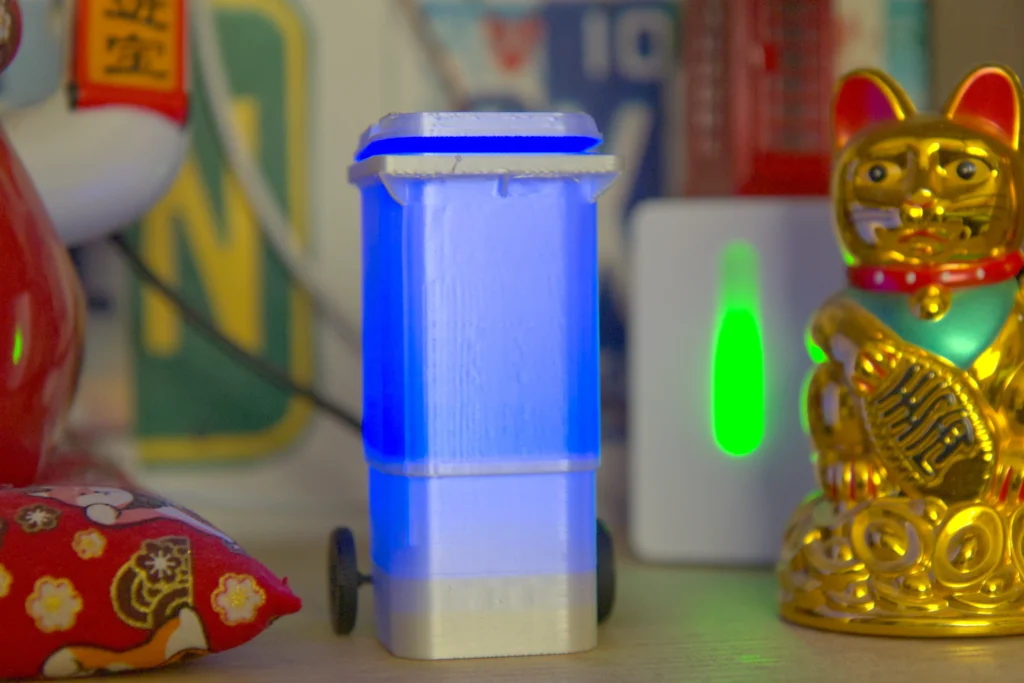
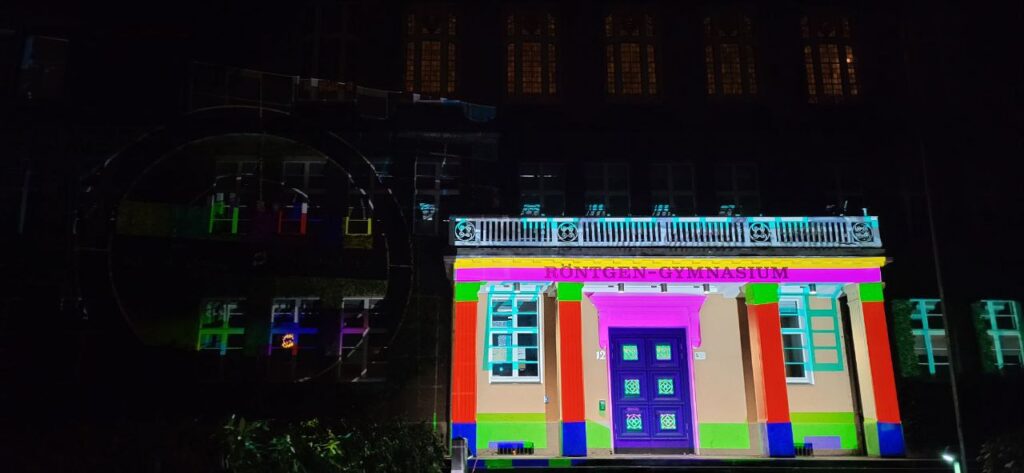
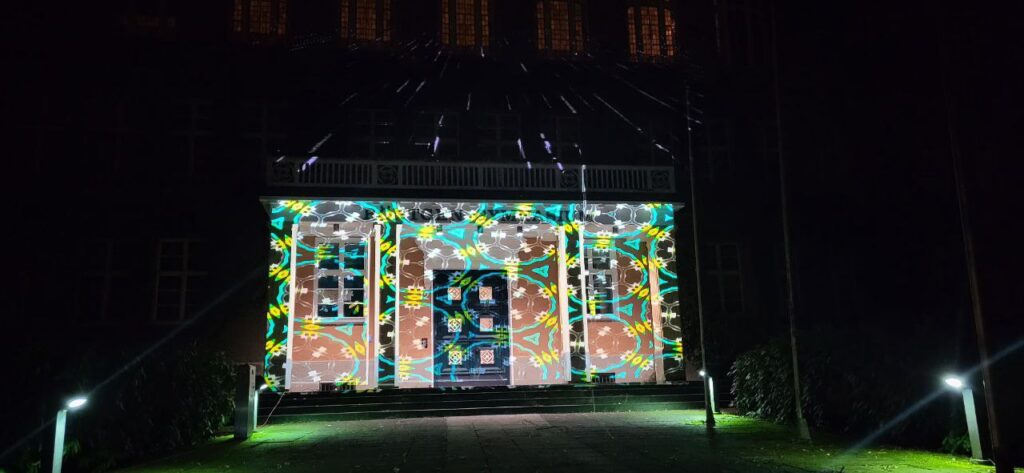
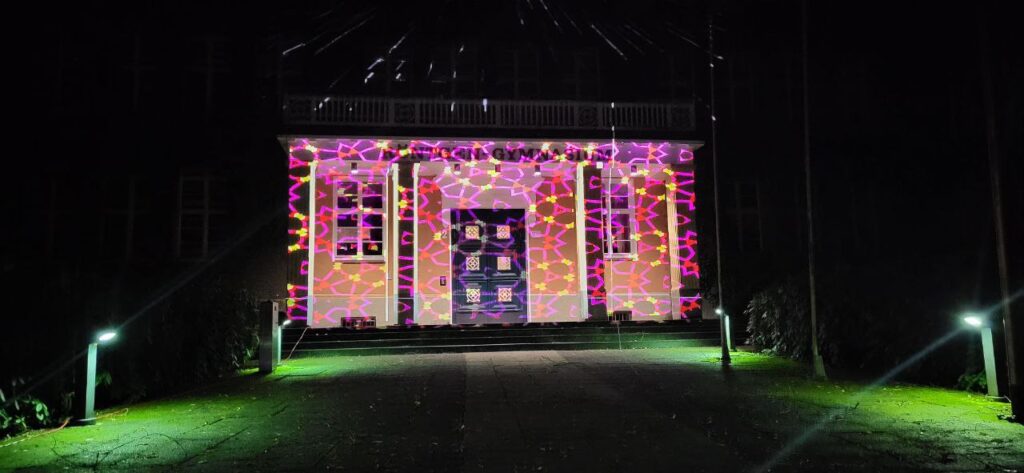
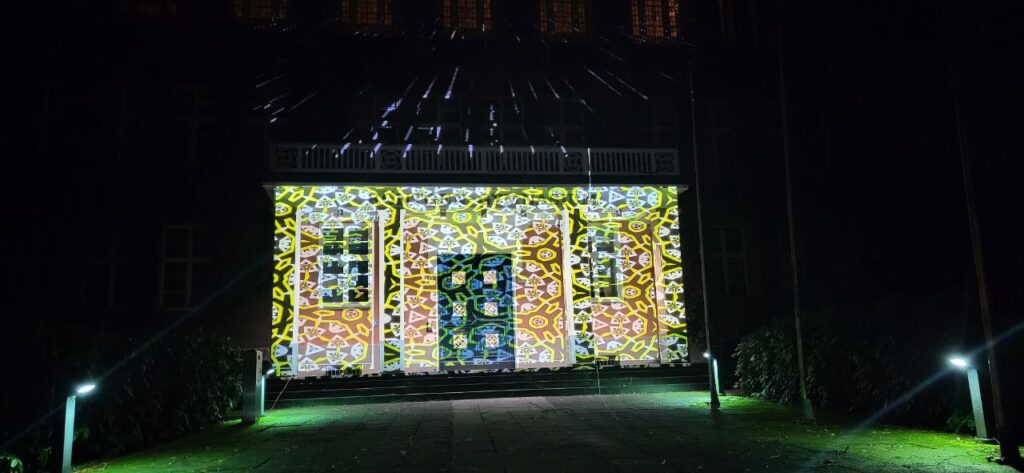
Final result
After an afternoon of tinkering, I was happy with my result. Let me know down in the comments if you have something similar for your smart home! Now enjoy a few photos and a video demo of the final result:
Learn more about my Smarthome projects
Just another Bindicator

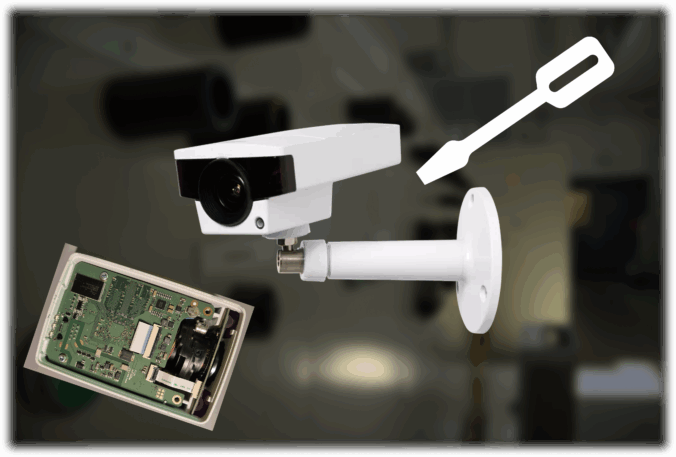
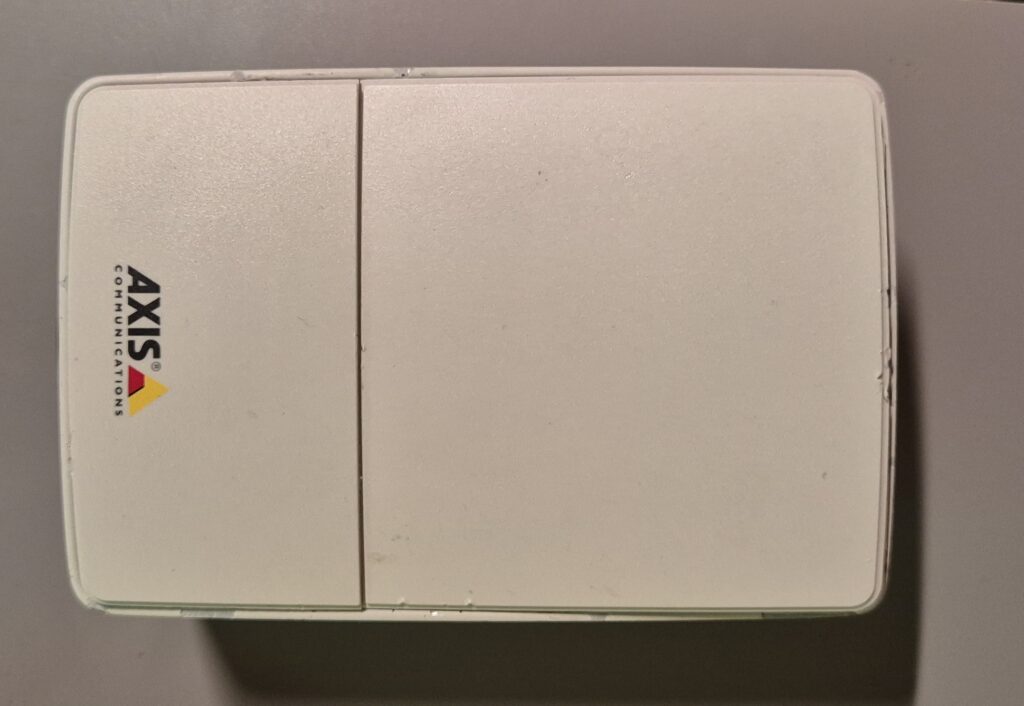
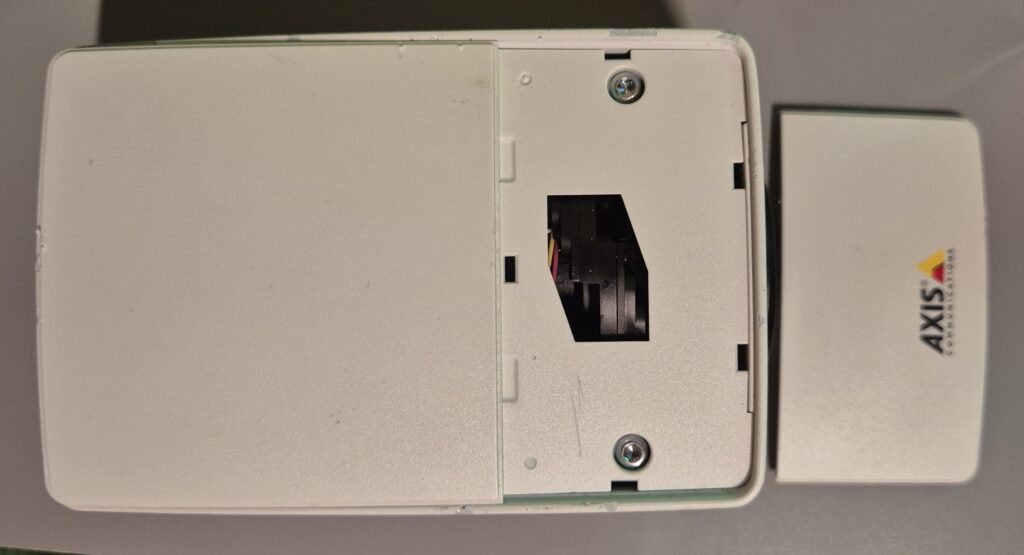
How to open an AXIS M1145-L CCTV camera
In this short post I want to share a few photos and tips on how…
Reverse engineering a Moonside Lighthouse Light
Working in ProgressThis article is still a work in progress, which means it will be…
Sending, Receiving and verifying messages sent over LoRa using RFM95W
Getting started with RFM95W, LoRa and ESP8266
Getting started with RFM95W, LoRa and ESP32
In this blog post I will be introducing you to LoRa using the RFM95W module…


![A screenshot from the nRF connect app where the first service ("Generic Access") was expanded. It's shows three attributes, "Device Name", "Apperance" and "Central Address Resolution". The device name is "MOONSIDE-T1", apperance is "[0] Unknown", address resoultion is not supported.](https://thegreydiamond.de/blog/wp-content/uploads/2022/10/SmartSelect_20221010_201139_nRF_Connect-300x296.jpg)


Recent Comments